Installing Node
The first step to a successful guides website is a guide! Oh, and some tooling.
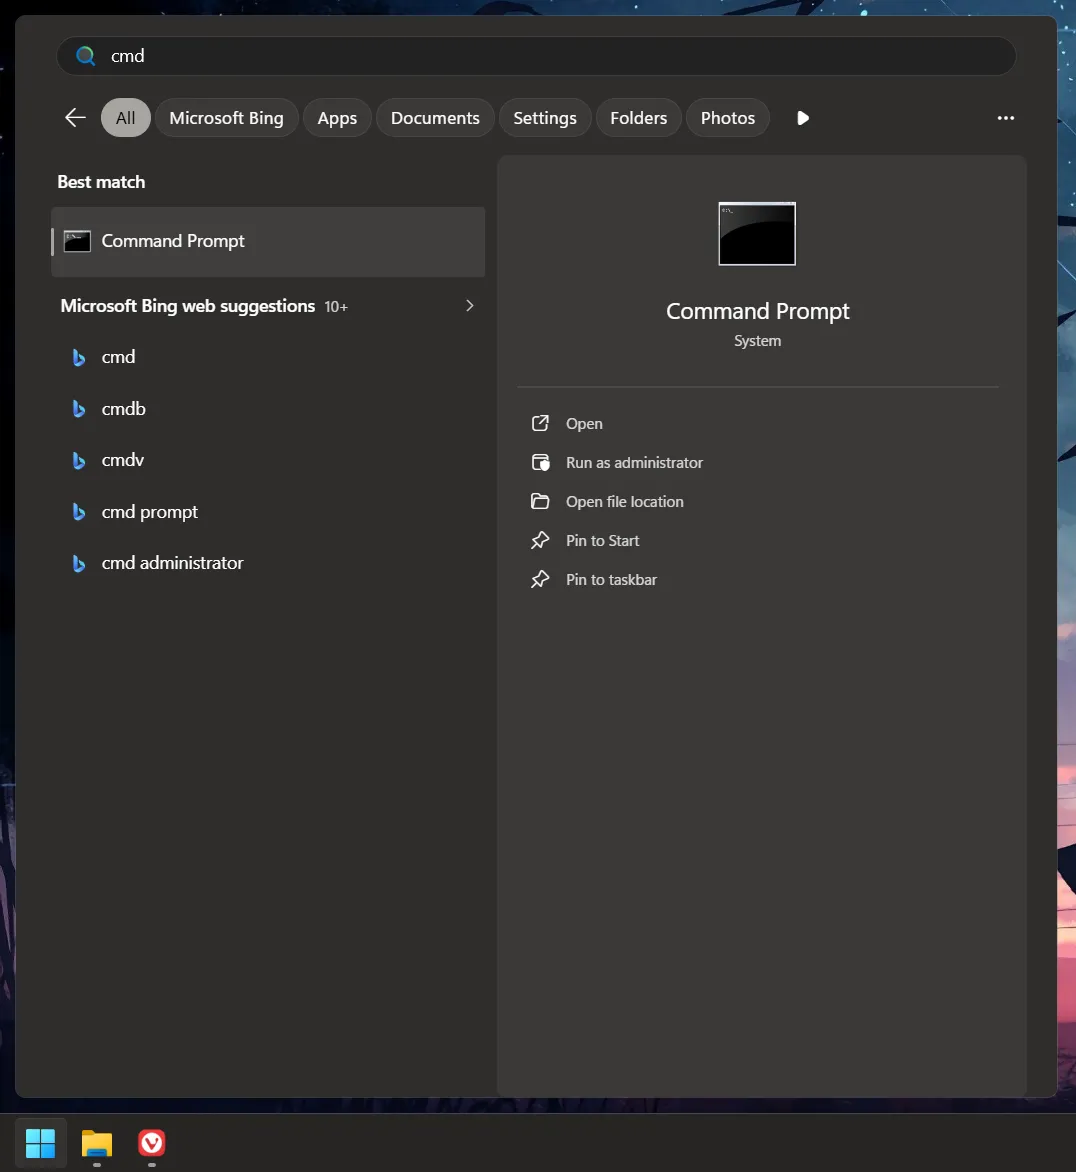
In general, all the commands ran here are done so from the Windows Command Prompt (cmd). You can open it
by pressing the Windows Key on your keyboard (or by going to the start menu) and just typing cmd. The first
result will be it.
Node.js (Validation)
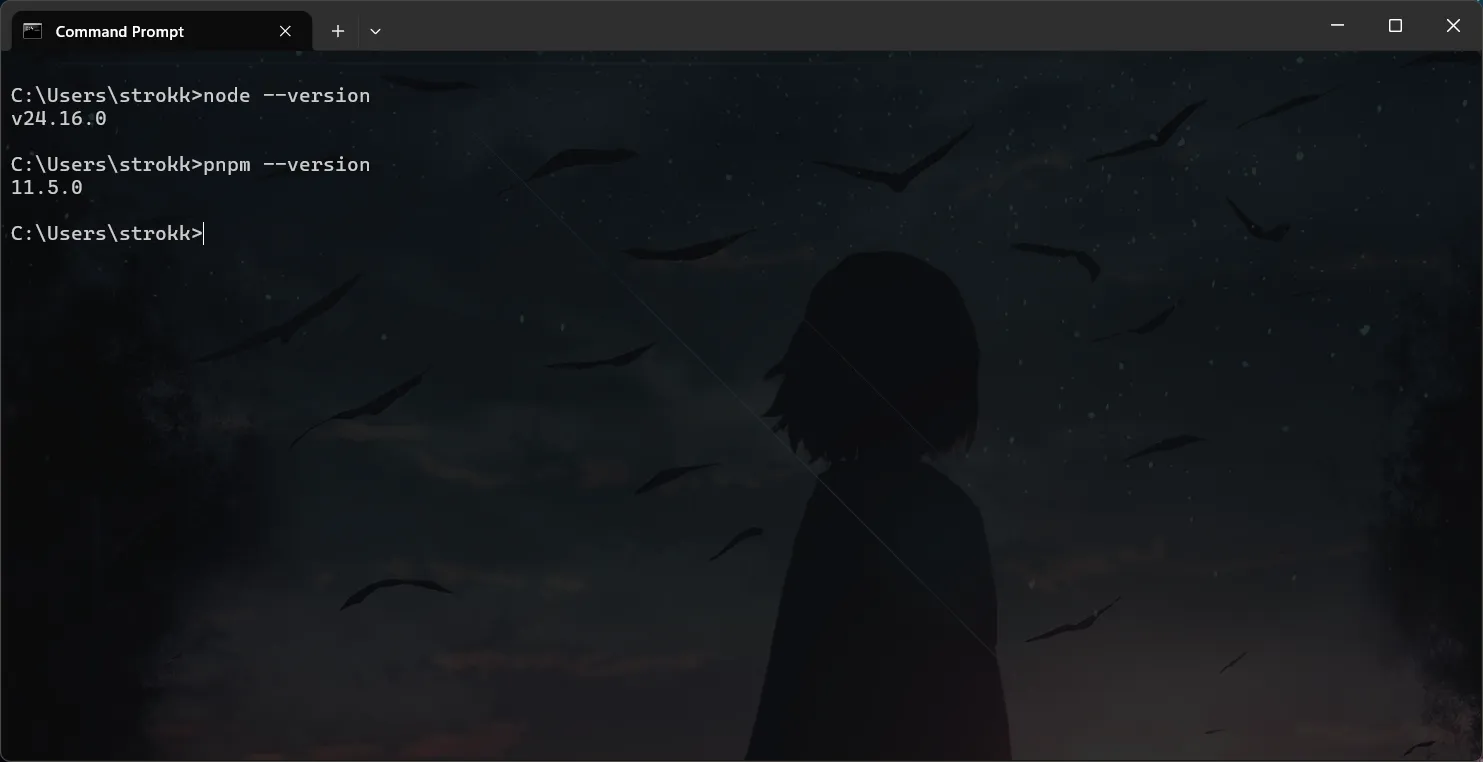
Section titled “Node.js (Validation)”I mean, maybe you already have Node.js installed for some unknown reason. You can validate that with the following commands:
node --versionpnpm --versionIf you have Node installed, it will look something like this:
Node.js Setup Wizard
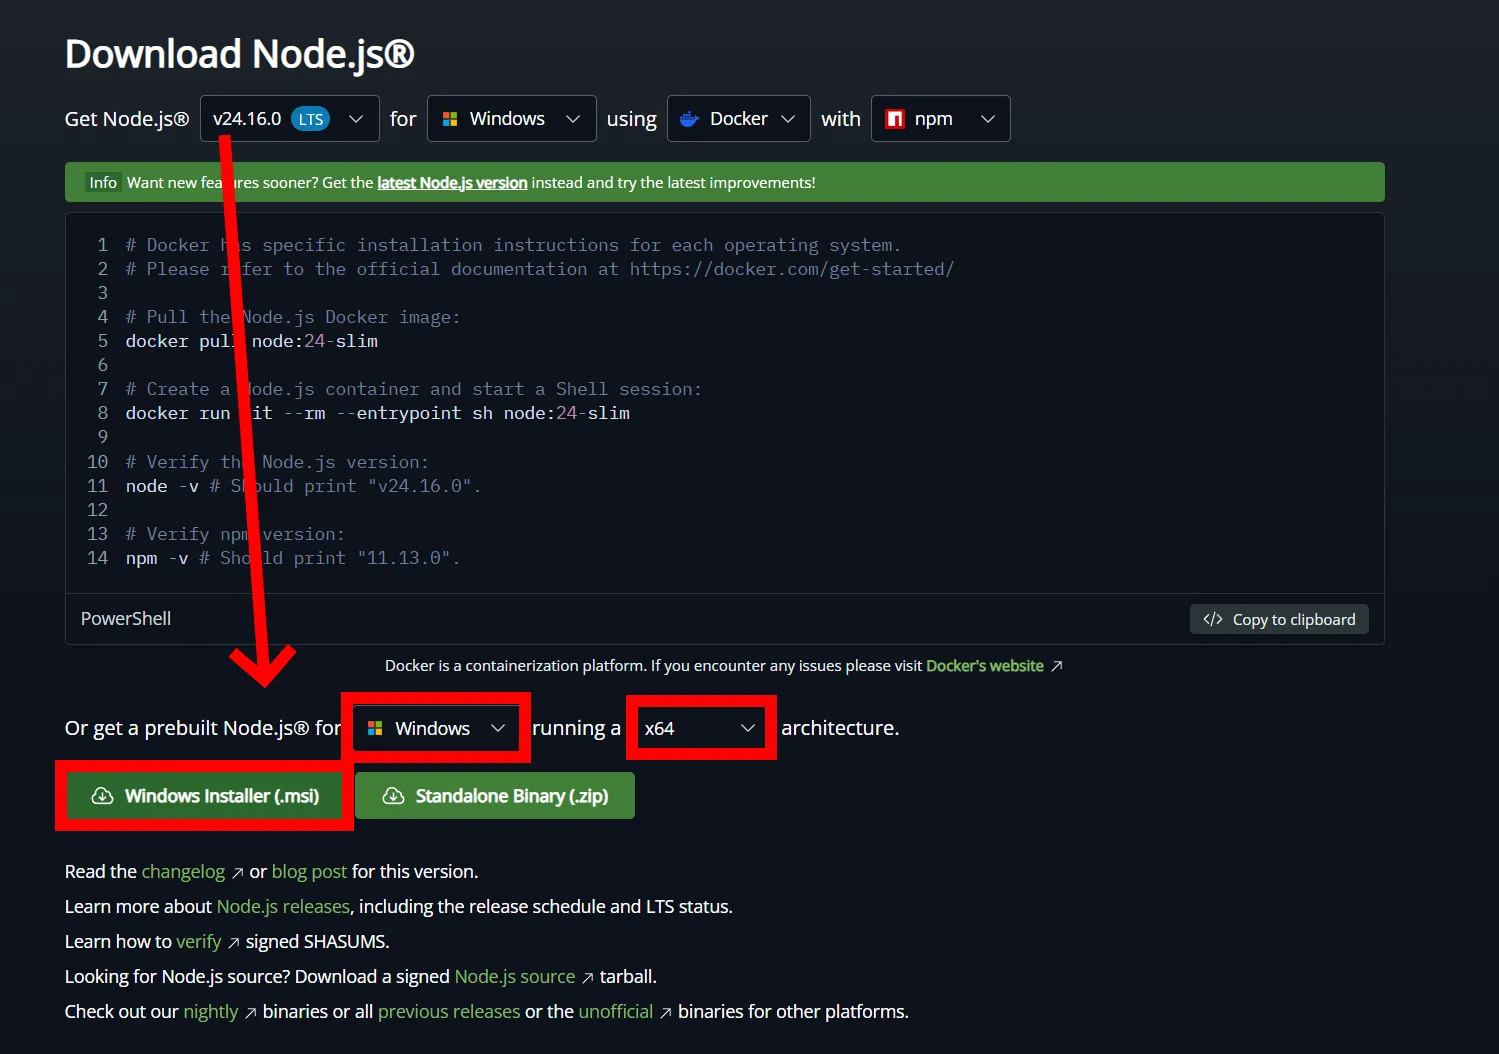
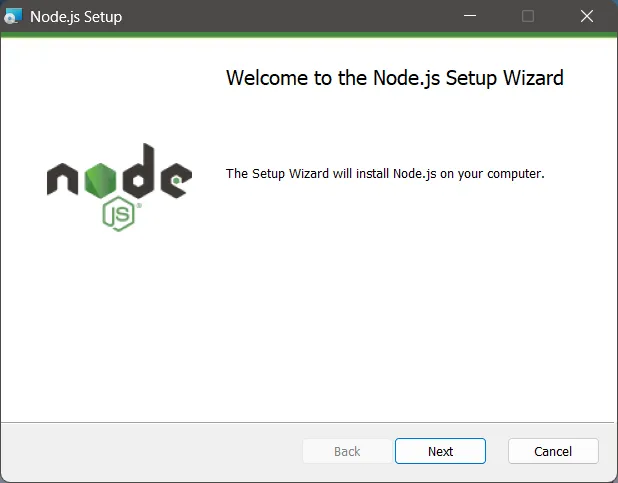
Section titled “Node.js Setup Wizard”Almost all the entire world wide web runs on Node.js. You can install it by going to the Node.js download page:
You will want to scroll down a tad bit and download the Windows Installer (.msi).
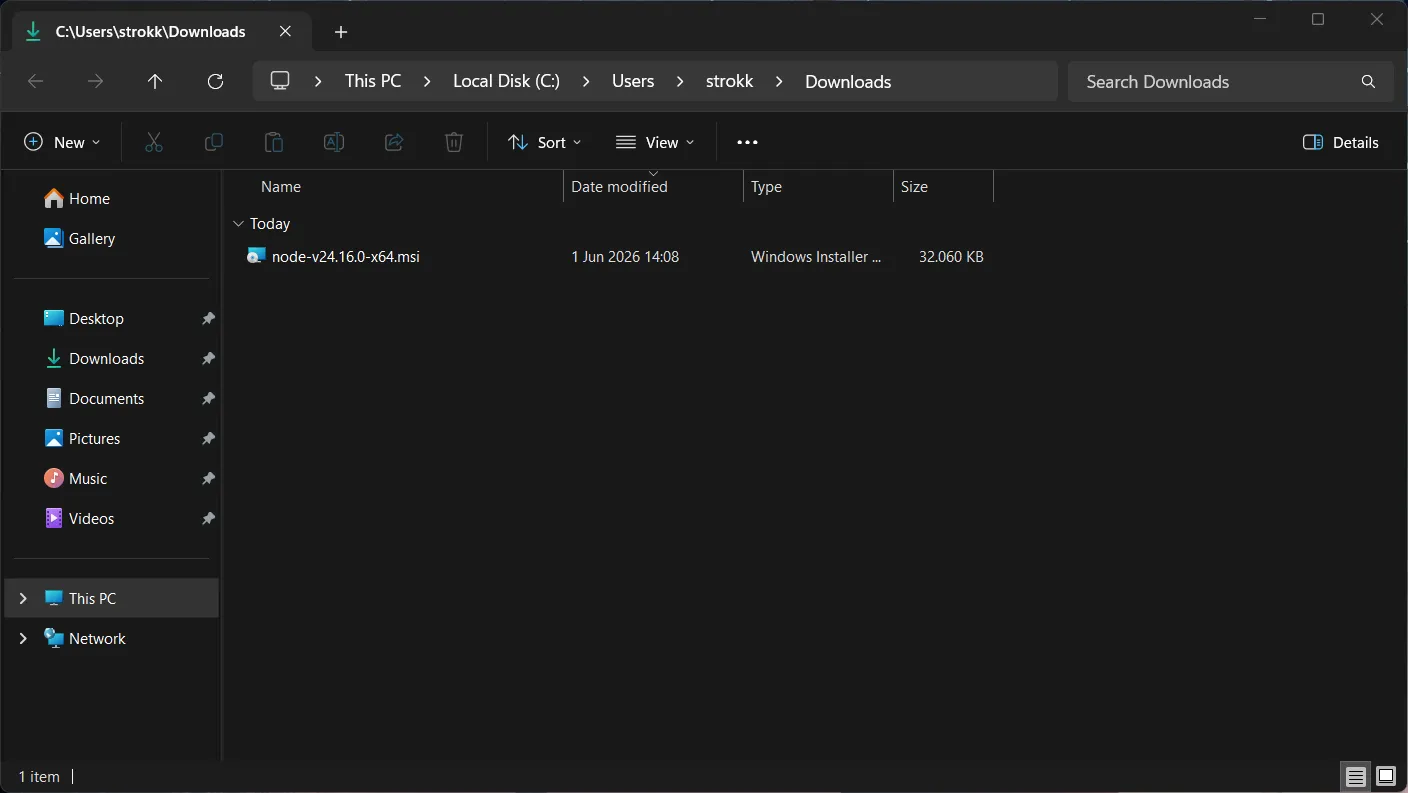
From there on out, simply locate the installer in your downloads folder and double-click to run it.
This will get you to the Node.js Setup Wizard.
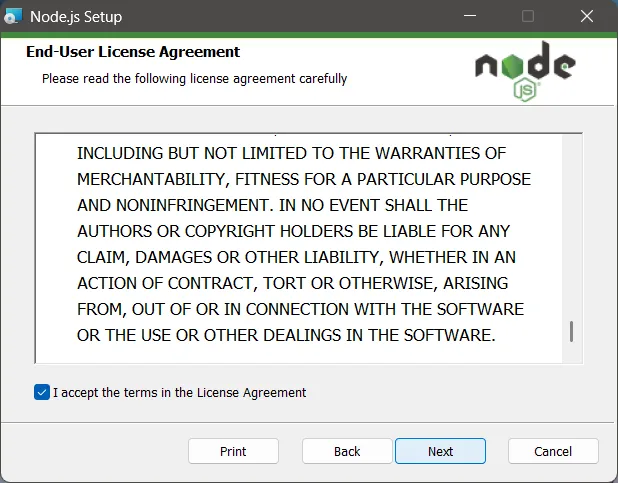
Step 1
Section titled “Step 1”Read the full End User License Agreement (EULA) and tick the checkbox if you agree with it. If you do not agree with it, you will have to stop the installation process now, too bad.
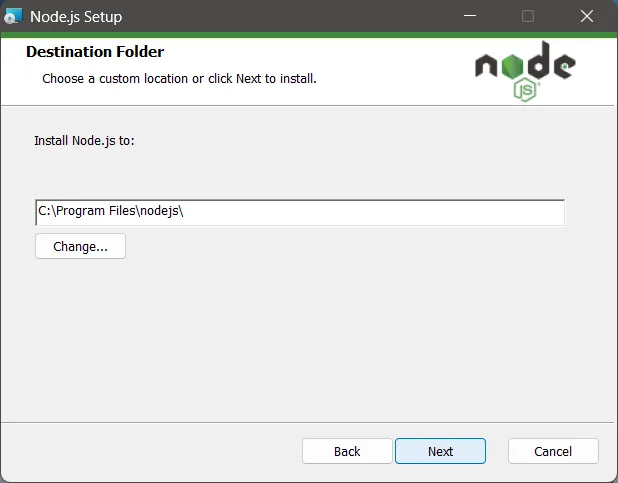
Step 2
Section titled “Step 2”The next screen defines the installation path of Node.js. You can leave this as default or set a custom location.
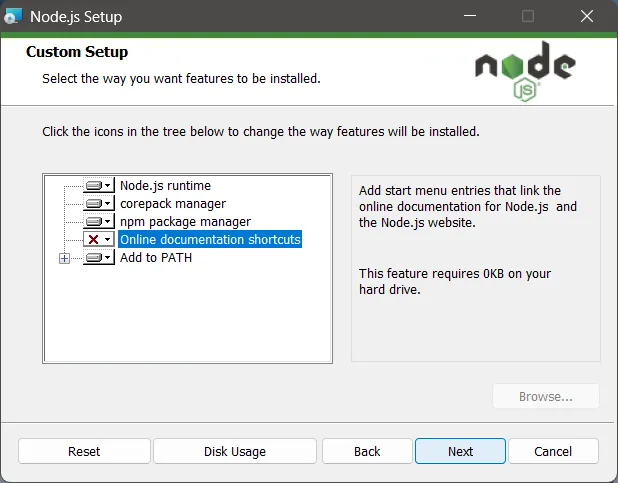
Step 3: Custom Setup
Section titled “Step 3: Custom Setup”The Custom Setup screen allows you to define the features you want to install. You definitely need to keep the following enabled:
- Node.js runtime
- corepack manager
- npm package manager
- Add to PATH
The “Online documentation shortcuts” feature is not particularly important and can be left out. Or you can just keep it enabled for the sake of it, doesn’t matter.
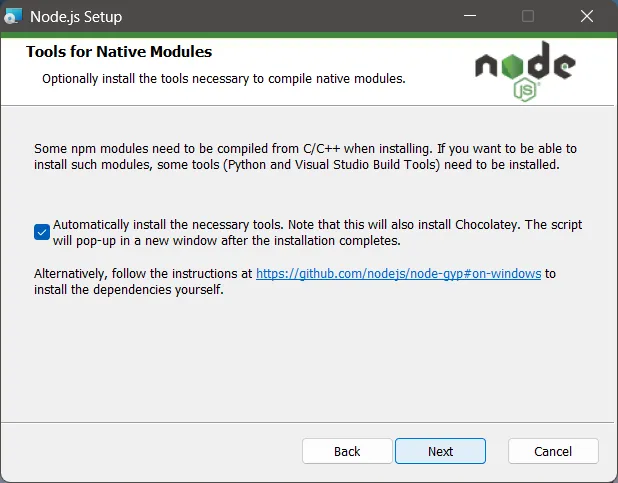
Step 4: Tooling install confirmation
Section titled “Step 4: Tooling install confirmation”Next up, the installer will ask you whether it is allowed to install the tools it requires to install Node.js automatically. This includes the Visual Studio 2026 build tools, Python, and Chocolatey, among others. All of this is fine. Just make sure to tick the checkbox.
Step 5
Section titled “Step 5”Final confirmation! If you’ve followed the steps here, everything should be good now. Just click install. This will pop up an administrator permissions thingy, just give it admin perms bro.

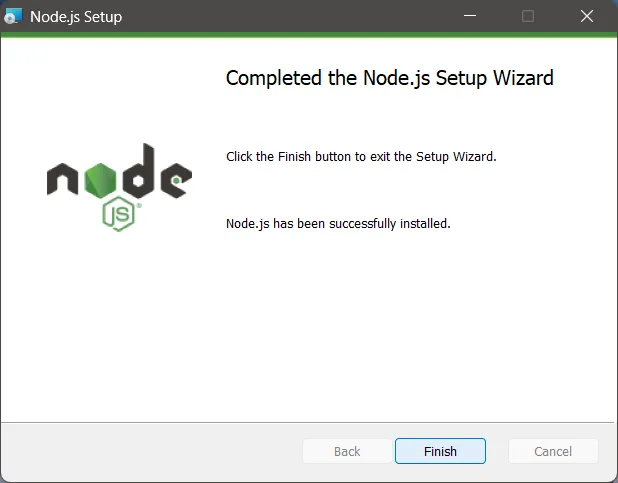
Step 6: You did it!
Section titled “Step 6: You did it!”Wow, I am so proud of you for clicking buttons. After this screen the installation will being proper.
Node.js (Installation)
Section titled “Node.js (Installation)”A console terminal window should now pop up. Do not close this window, it will close as soon as it’s done. The window looks something like this:
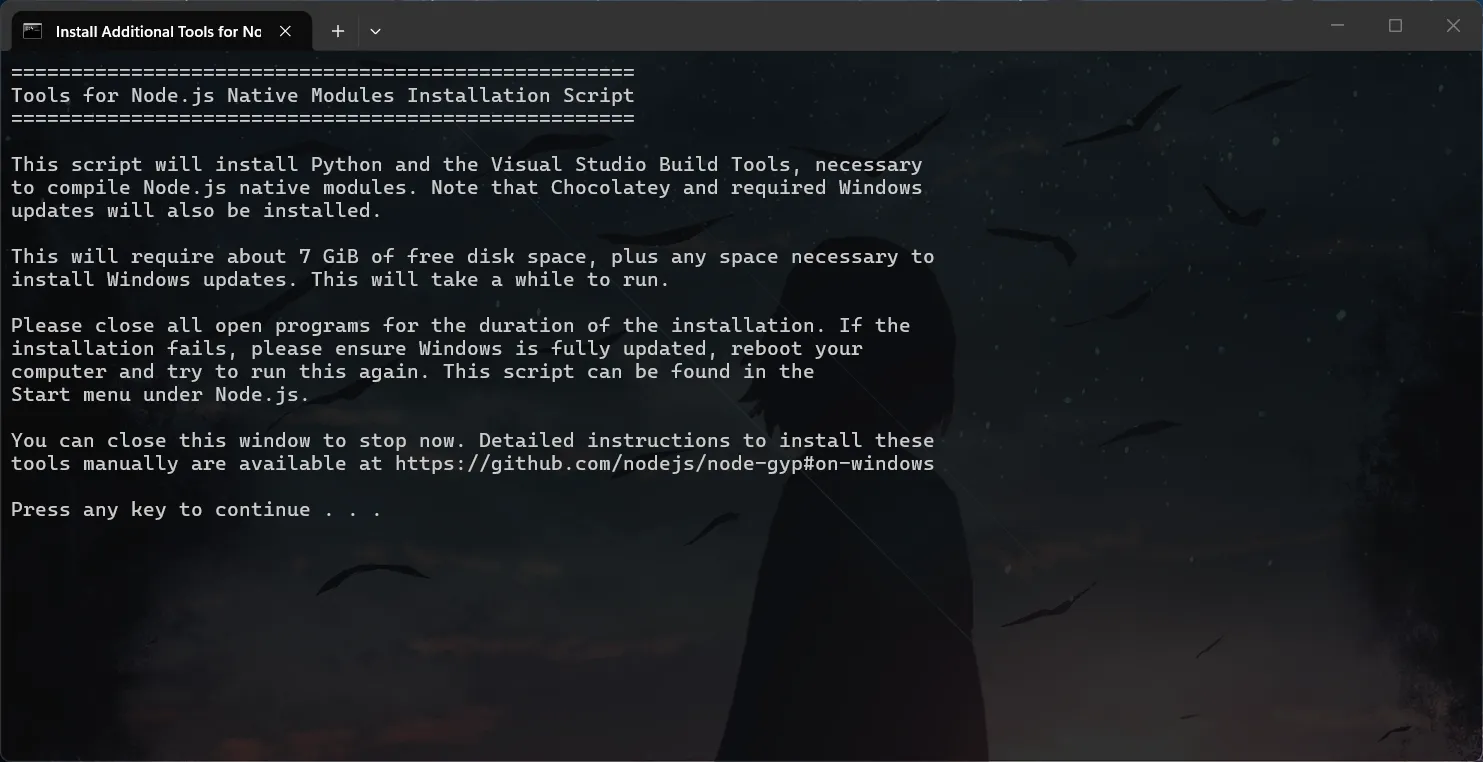
You will have to press a key. Just press a key. Afterward, another information notice will be shown. Just press yet another key. Or press the same key. It literally does not matter. Press a key.
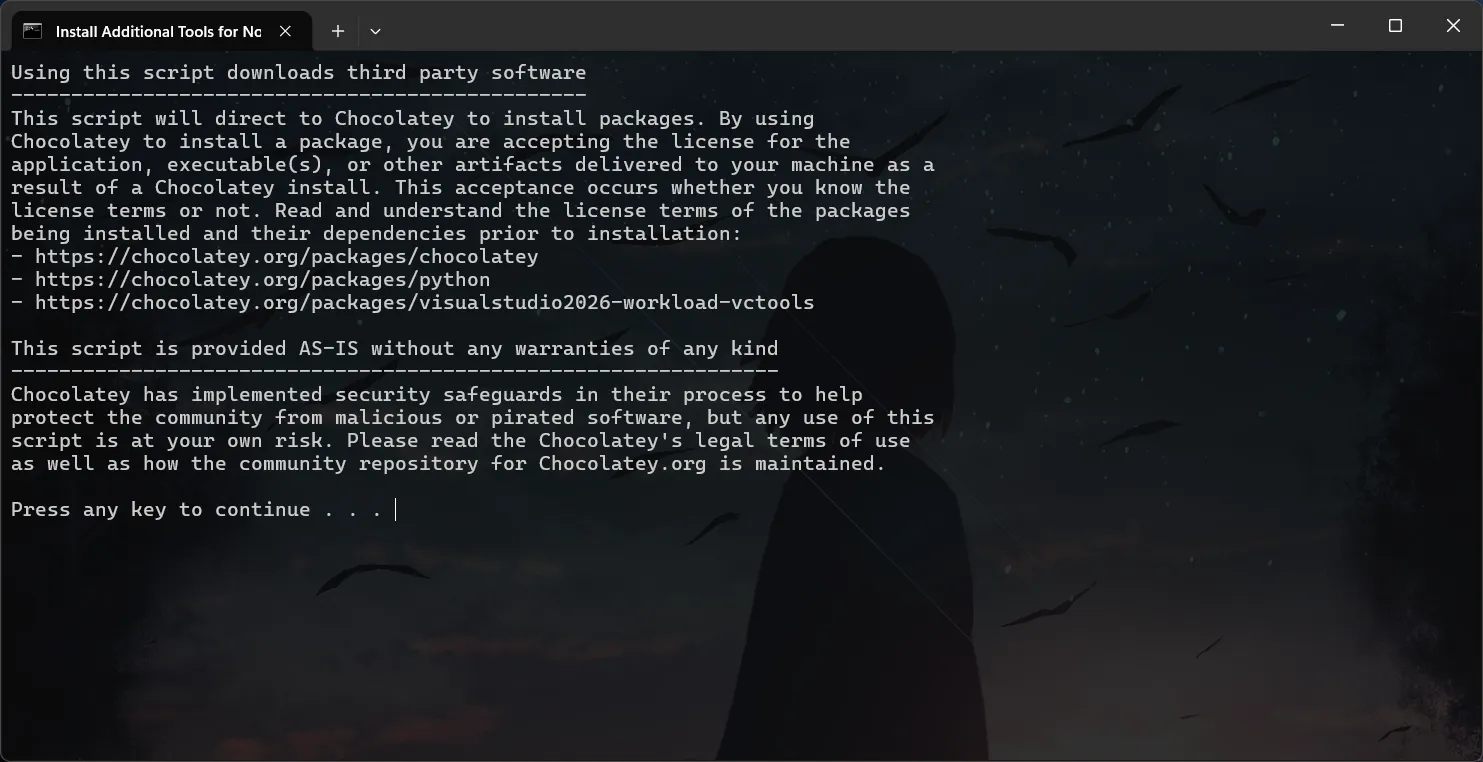
The command terminal will now close. Instead, a new administrative PowerShell window will open. This is the one that does the actual installation. Absolutely do not close this until it finishes. The installation process may take some time, or it can go by rather quickly if you just so happen to have the required tooling already installed on your PC or if you have fast Wi-Fi. I don’t have either, so it took a few minutes for me, but eventually it finished. Even if it shows warnings, do not do anything, those warnings are probably fine.
Once the installation finishes, it will look something like this:
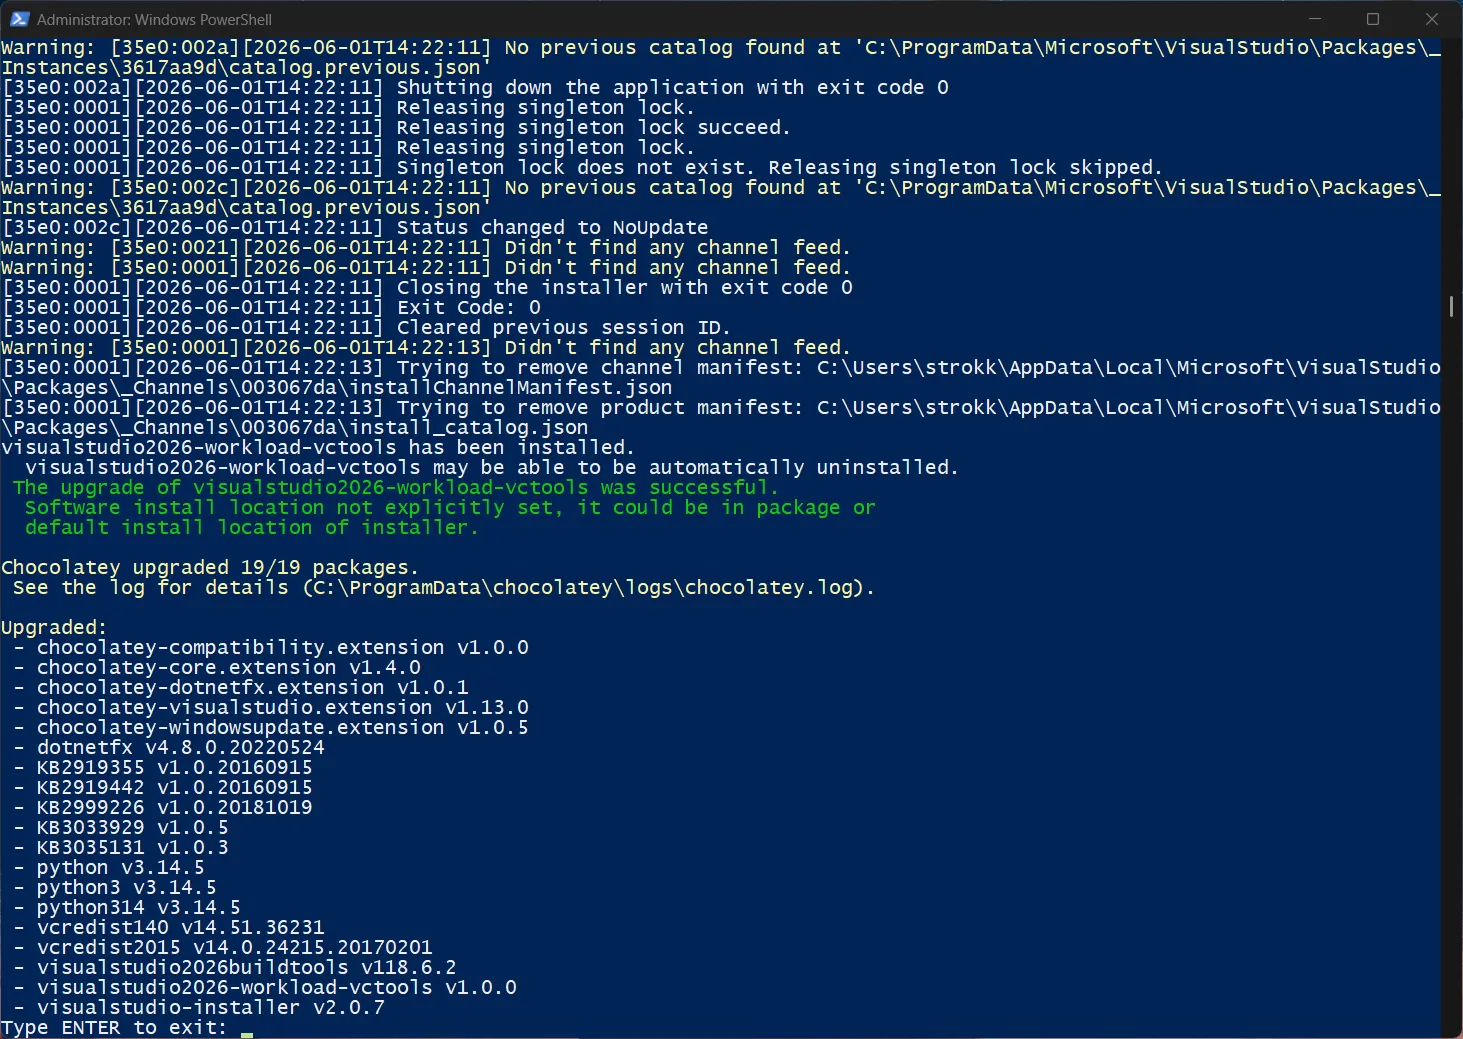
At this point, you can press the ENTER key to exit (notice the Type ENTER to exit: at the end?).
Enabling pnpm
Section titled “Enabling pnpm”In order to enable pnpm, you must run the following two commands in an elevated shell. You can do this
either by choosing Run as administrator when you open your command prompt, or if you have selected that Windows
feature, by prepending sudo in-front of the commands.
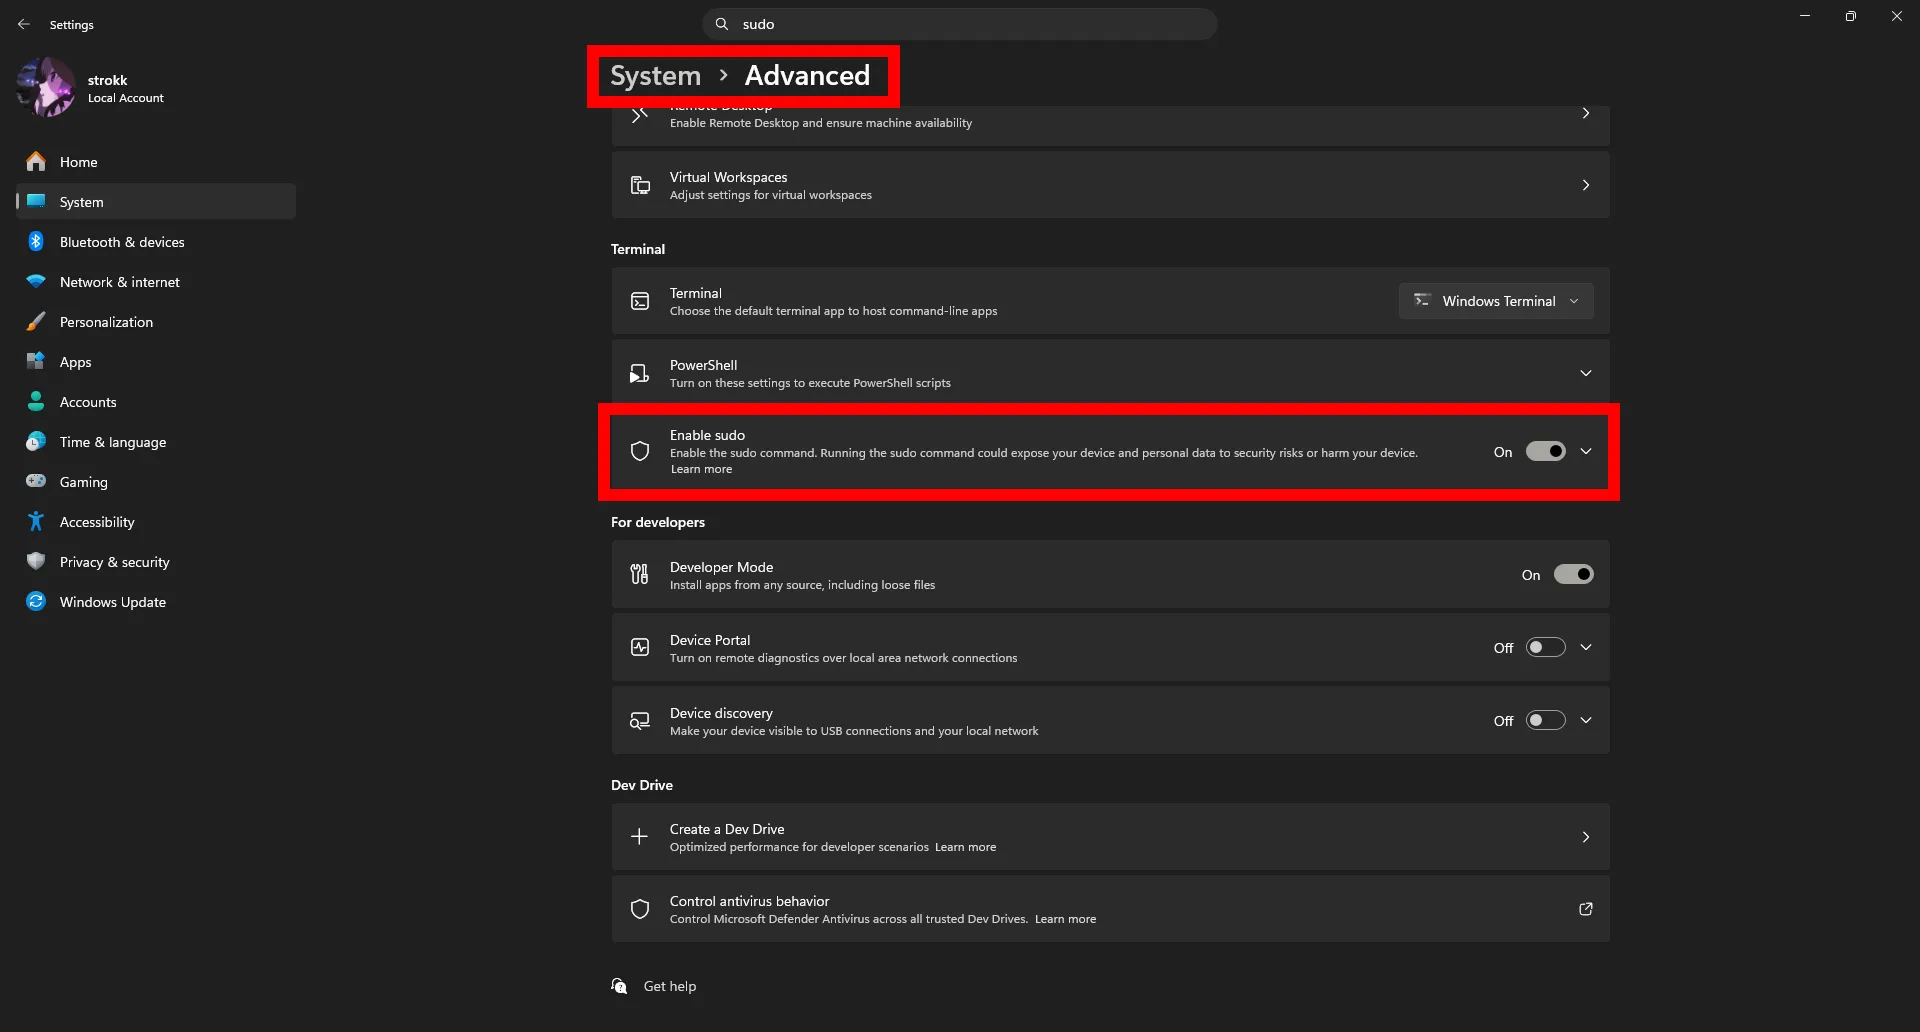
Enabling sudo in Windows settings
To enable sudo in the Windows settings, go to System > Advanced, scroll down, and tick the Enable sudo
option.
corepack enablecorepack prepare pnpm@latest --activateClose the current command prompt and open a new one. This ensures that the list of available commands to the
console is updated so that the now enabled pnpm commands becomes usable. You can now run pnpm --version and
it should show the following output:
pnpm --version11.5.0